.png)

Nothing bruises the ego like tipping your ADV bike over at walking pace… or at a dead stop. No glory, no epic story—just “I was basically parked and it fell over.”
The good news? Those zero-mph drops are rarely about “not being strong enough” or “this bike’s too big for me.” They’re usually about technique, setup, and a bit of physics you can absolutely master.
Let’s break down why they happen—and how to cut them way down.
Why Zero-MPH Drops Happen (Hint: It’s Not Just the Weight)
At speed, your bike wants to stay upright. At slow speeds or stopped, you are the stability system.
Most low-speed drops come from a combo of:
- Turning too sharply with no momentum
- Grabbing the front brake when the bars are turned
- Looking down instead of through the turn
- Poor clutch control and stalling mid-maneuver
- Stopping with the bike leaned and no plan to catch it
Add luggage, a passenger, or off-camber ground, and that “whoops” moment happens fast.
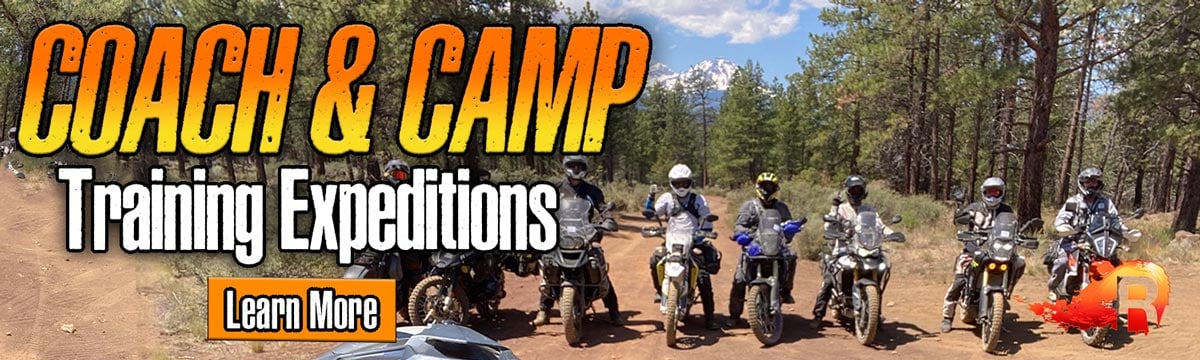
If you ride big bikes off-road like we do at RIDEADV, you see the pattern constantly: once riders learn how to control balance in the first 0–5 mph, everything from U-turns to tight single-lane pullouts becomes less terrifying.
READ MORE: Adventure Motorcycle Luggage: Hard Panniers vs Soft Bags

Slow-Speed Physics 101: Balance Circle, Friction Zone, Rear Brake
Think of yourself riding a tiny circle in a parking lot. There’s a limit to how tight that circle can be before gravity wins. That’s your balance circle—and the goal is to ride just inside that limit, not past it.
Three things control that circle:
- Clutch in the friction zone
- Not fully in, not fully out.
- You’re “slipping” it enough to keep a steady, creeping drive.
- Steady throttle
- Pick a low, smooth rpm and leave it.
- Use the clutch to adjust speed, not constant throttle chopping.
- Light rear brake drag
- A little pressure on the rear brake calms the bike down.
- It loads the chassis, keeps things planted, and gives you a “third point” of control.
Front brake at walking pace is a classic drop trigger—especially with the bars turned. Grab a handful and the bike wants to dive and flop. Use the rear to manage speed instead.
On RIDEADV training days, once riders lock in that friction-zone + rear-brake combo, their balance circle shrinks dramatically and zero-mph drops start disappearing.

Body Position & Eyes: Where You Look Is Where You Land
If you stare at the ground next to your front wheel, you’ll ride like it’s about to kill you.
For slow-speed control:
- Stand or sit tall, hips loose – Don’t stiff-arm the bars.
- Keep your upper body over the bike, not way outside the turn. Lean the bike underneath you instead of trying to lean your whole body away from it.
- Eyes up and through the turn – Look where you want to exit, not at the hazard you’re scared of.
Turning from a stop is a big culprit. Riders stop at a junction, crank the bars full lock, then try to go with:
- Eyes down
- Clutch out too fast
- A tiny jab at the front brake
Cue the tip-over.
Instead, reset your routine:
- Bars turned, but not to absolute full lock.
- Eyes on your exit line.
- Ease the clutch into friction zone, drag a little rear brake, and let the bike roll before you add more steering.
Do this right a few dozen times in a parking lot and all those sketchy gas-station exits and tight viewpoints on tours feel way less dicey.
READ: The Best (and Worst) Times to Be Standing on a Motorcycle

Parking-Lot Drills That Actually Translate to Trails
You don’t need a motocross track to fix zero-mph drops. You need paint lines, cones (or water bottles), and 30–60 minutes.
Try these:
- Big circles → small circles
- Start in a wide standing circle in first gear.
- Use clutch, steady throttle, and rear brake to slowly tighten the circle.
- Change directions. Do both sides until neither feels “wrong.”
- Slow figure-8s
- Two circles connected. This forces you to switch lean, vision, and clutch control smoothly.
- Keep your head up, looking across the “X” of the 8, not at your front tire.
- Stop–start turns
- Come to a smooth stop in a turn, feet down, eyes up.
- Restart and finish the turn without stabbing the front brake or looking down.
- This mimics trail stops, gates, traffic, and awkward photo stops.
- Creeping straight line
- Ride as slow as possible in a straight line, standing if you can.
- No clutch all the way out—keep it in the friction zone.
- Try to balance for as long as possible between dabs.
These are the same fundamentals we run in our RIDEADV training centers before taking riders onto more technical terrain. Nail them in a parking lot and they show up automatically on actual trails.
Setup Fixes: Make the Bike Work With You, Not Against You
Sometimes the bike is literally fighting you. A few setup tweaks can make slow-speed balance way easier:
- Bar sweep and height
- If your wrists hurt or you feel “jammed” at full lock, your bar position is off.
- Adjust the sweep so your natural hand position matches the grips when standing relaxed.
- Lever angle
- Levers too high: you’ll roll your wrists and lose strength when standing.
- Levers too low: you’ll be over-reaching when seated.
- Aim for a straight line through your forearm to your fingers in your main riding position.
- Clutch feel
- A grabby or poorly adjusted clutch makes friction-zone work miserable.
- Make sure you have enough free play—but not so much that engagement is on/off.
- Suspension & sag
- If the rear is jacked up too high, the bike will feel tippy and nervous.
- Correct sag keeps the bike settled, which makes balancing at low speed less sketchy.
We spend a surprising amount of time on this at the start of RIDEADV courses. Once ergonomics match your body, slow-speed control stops feeling like a wrestling match.
_compressed.jpg?width=1200&height=901&name=training%20group%20on%20side%20of%20road%20(Custom)_compressed.jpg)
When It Still Goes Over: How to Pick It Up Smart
Even with perfect technique, bikes nap. The skill isn’t “never drop it”—it’s knowing how to recover without blowing your back out or panicking the group.
Quick refresher:
- Kill the engine and, if possible, hit the kill switch or key.
- If it’s on the left side, leave it in gear. If it’s on the right, consider using the front brake once upright.
- Turn the bars toward the ground – This shortens the lift a bit.
- Back to the seat, knees bent, grab a solid handle (rear rack, frame, not just plastic).
- Use your legs to walk it up, keeping your back straight and butt close to the seat.
No deadlifts. No twisting and yanking. Just a controlled push with your legs.
If you’ve never practiced this on purpose, do it in a safe spot with a friend nearby. The first time should not be on a steep, rocky hill in the middle of a tour.
Dial in your slow-speed physics, fix the ergonomics, and practice the basics, and those zero-mph drops go from “constant embarrassment” to “rare and no big deal.”
And once the bike feels manageable at a crawl, everything else gets more fun—tight switchbacks, sketchy pullouts, and those off-camber photo stops that used to stress you out.